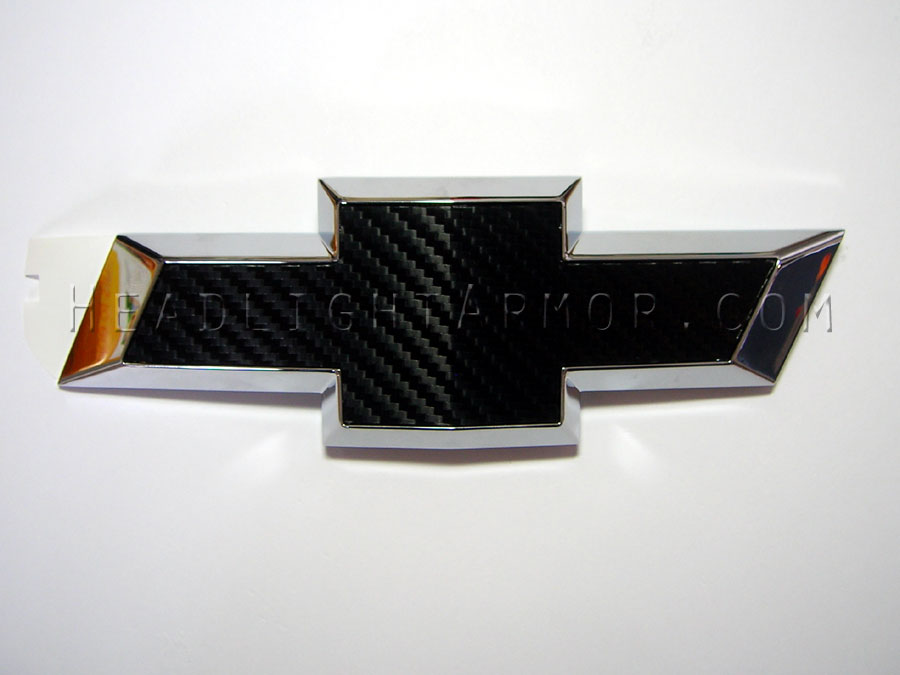
DIY 3D Carbon Fiber Film Application on 2010 Camaro Bowties
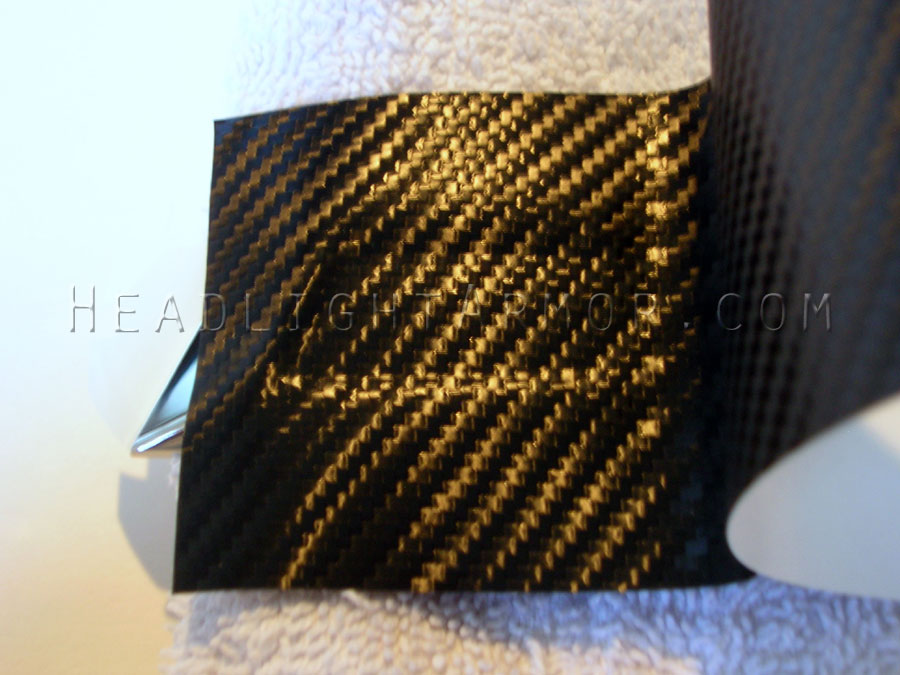
To start your project you need some 3D carbon wrap material –
see vendor thread here for more information on it. Once you have your Carbon Fiber wrap (we have one item on the site that you can use to do both front and rear bow ties), you need the following items:
Your cleaned Camaro
3D Carbon Fiber Wrap from headlight Armor (we used a 6.75" x 8" sheet for this tutorial)
Isopropyl rubbing alcohol – final prep cleaning
Heat gun
Scissors
Very sharp razor knife with new blade
Microfiber towels – we prefer the ultrasuede like ones
Can do attitude – what diy project doesn’t

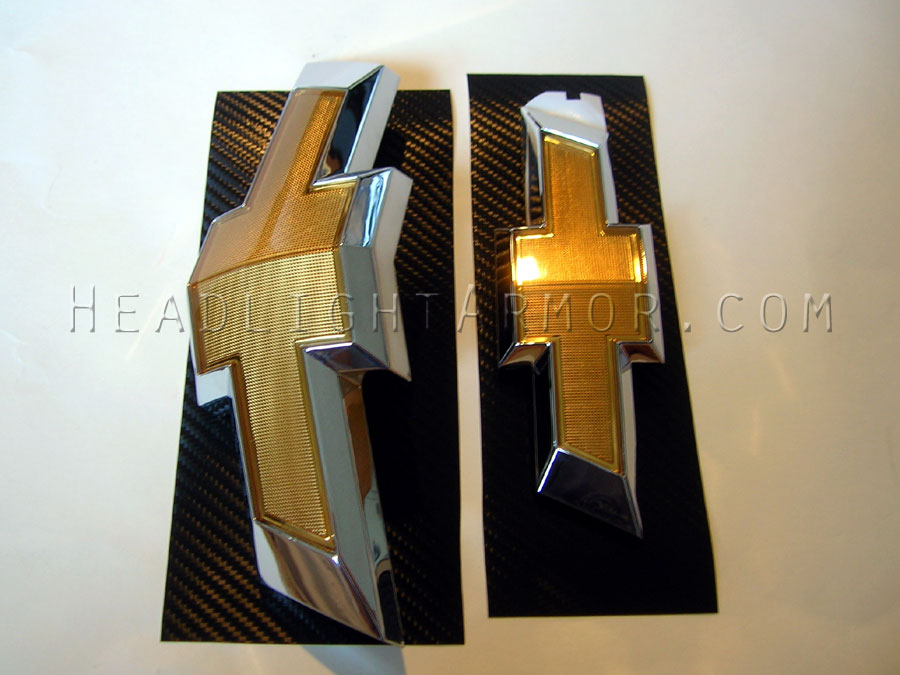
The tutorial was shot inside with brand new badges from our Chevy dealer but the application process works just as well with them mounted to the vehicle (you don’t need to remove them for install)
Start by cleaning the bowties with your favorite soap and water, paying particular attention to the edges where the gold center ends and the chrome trim starts. Rinse completely and dry. Make sure your hands are clean and oil free too. Next wipe the surface and edges with the rubbing alcohol.
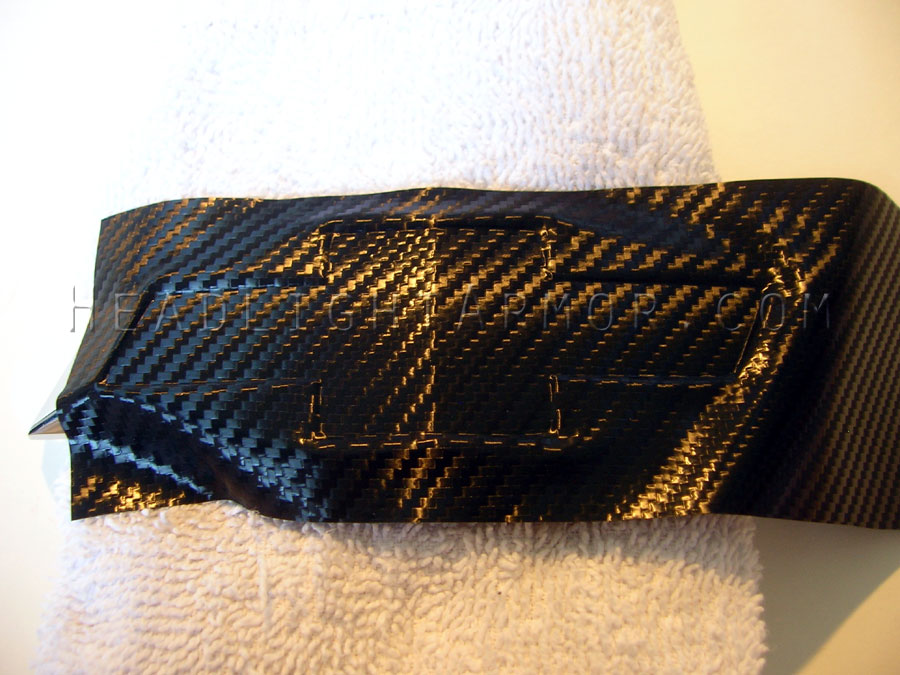
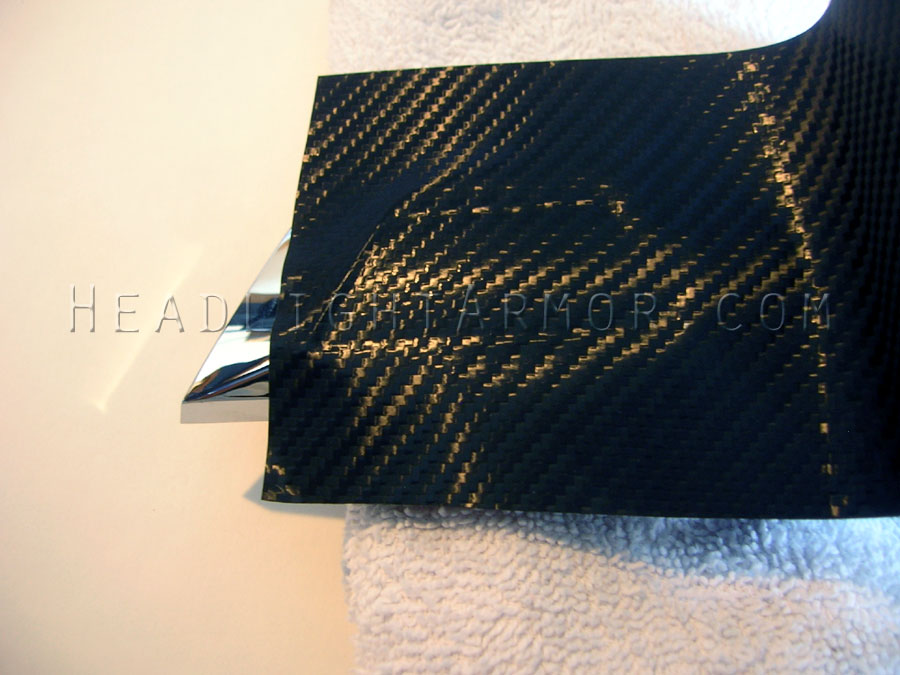
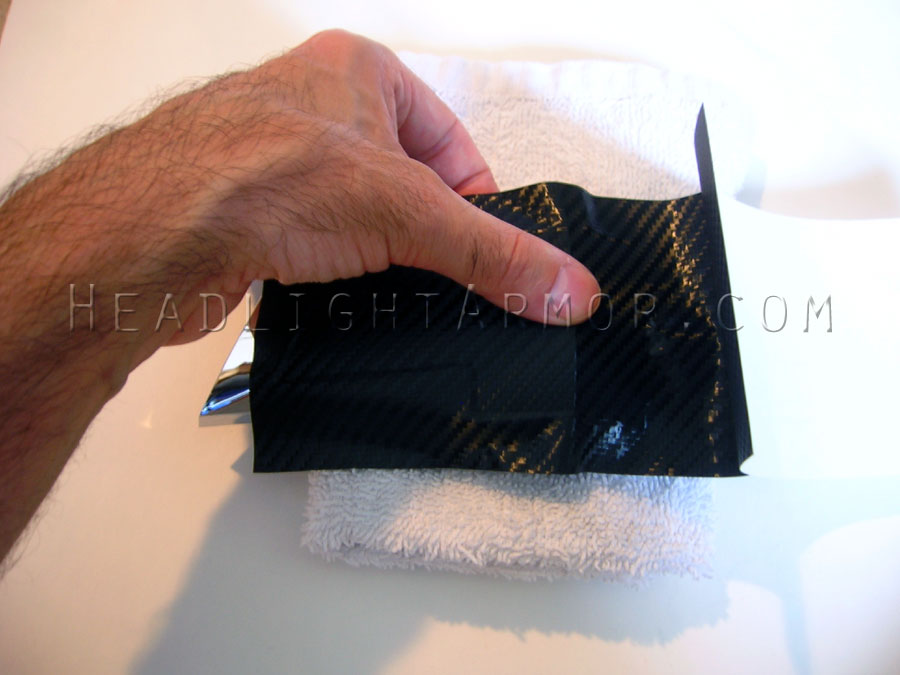
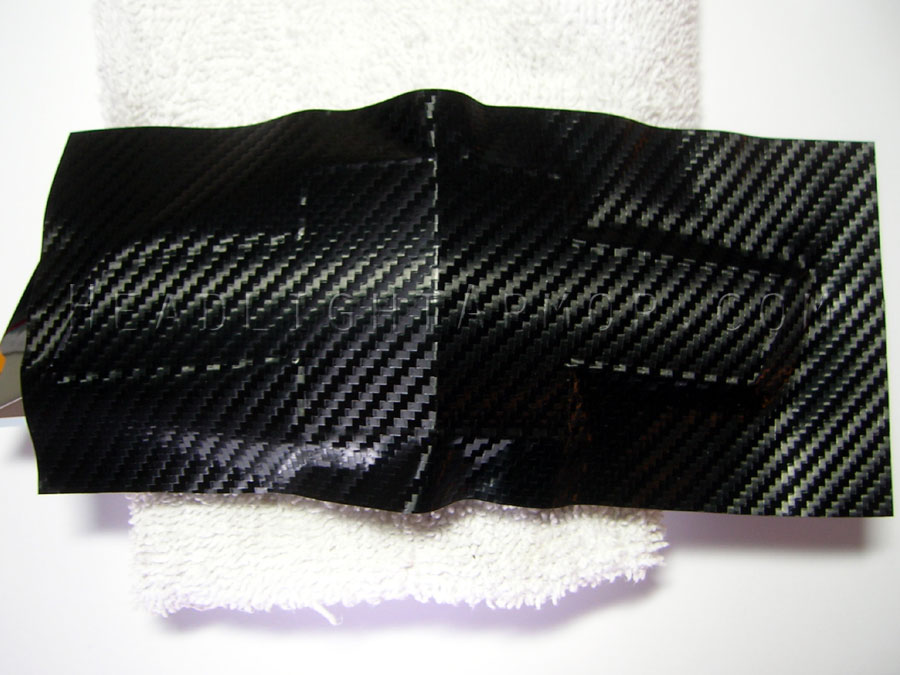
Take your piece of carbon fiber and measure the needed amount for one of the bowties and cut as shown
You will have some extra both left and right and up and down.
Since the back bowties are easier, we are going to start there. With your bowtie cleaned and prepped and your carbon fiber wrap sheet cut, it is time to get down to business.
Start by gently warming the material a bit, just a little to bring it up to 80-90 degrees or so. Peel back ~ 1/3 of the backing paper – not all of it – and place on one side of the bowtie as shown. Using your thumb and pressing the material down into the center and out to the edges.
Warm the next third of the material – this time a little warmer as we are going up and over a small compound area - 104-122 degrees - and continue peeling the backing paper back and pressing the material down. Work from the area that is set across the center and out to the sides evenly left to right and top to bottom in small increments as shown.

Repeat until the end of the bowtie is reached.
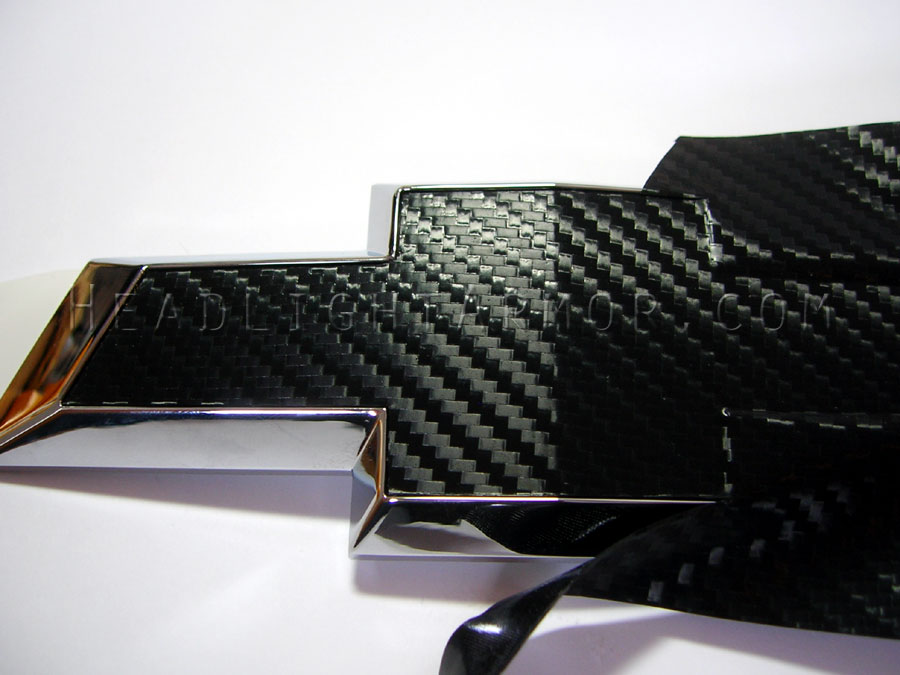
It is now on. Warm again ~ 104-122 degrees and go over with either your hand or you hands wrapped in a suede microfiber towel to make sure you didn’t leave any bubbles. The adhesive has air release channels so you should be bubble free. Go around the edge with the back of your fingernail (preferably wrapped in the suede microfiber towel) and set the material into the channel between the center bowtie and the chrome surround.
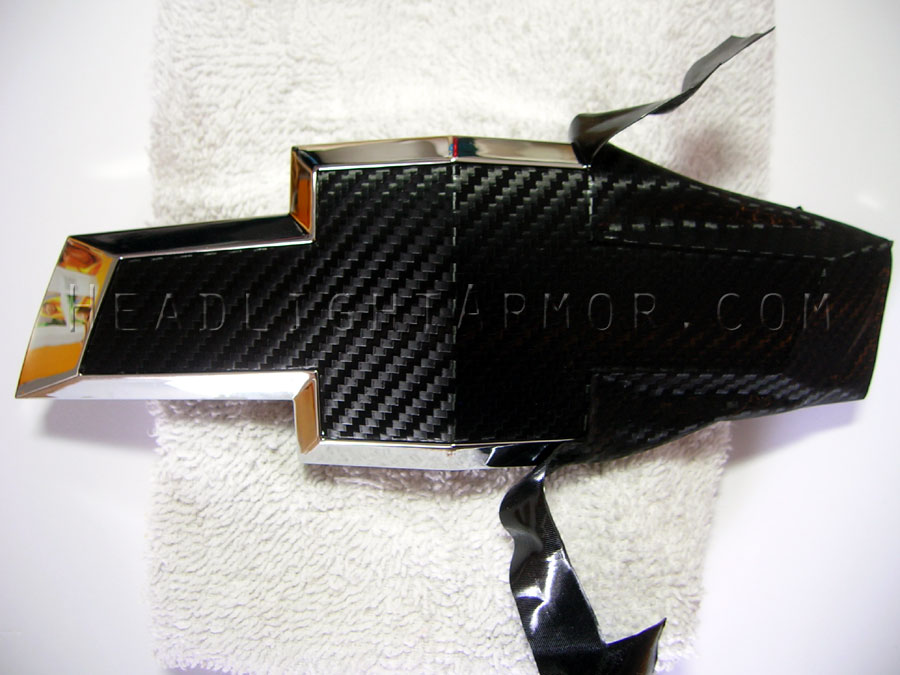
Now it is time to trim. Get your sharp razor knife with a new blade and trim the excess away – using the channel where the center meets the boarder as a guide. This is the important step as you can’t uncut it if you somehow miss… We have found the cleanest way to accomplish this is to make two cuts per profile. For each section start somewhere other than a corner and make two cuts – one going in one direction across and into a corner and the other going the other direction into the opposite corner.

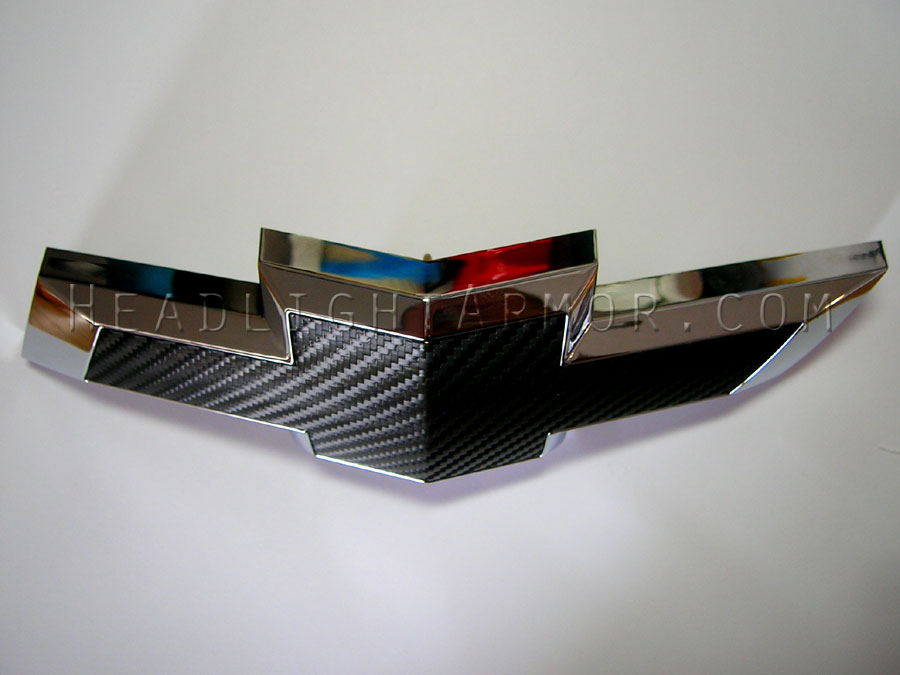
Getting there
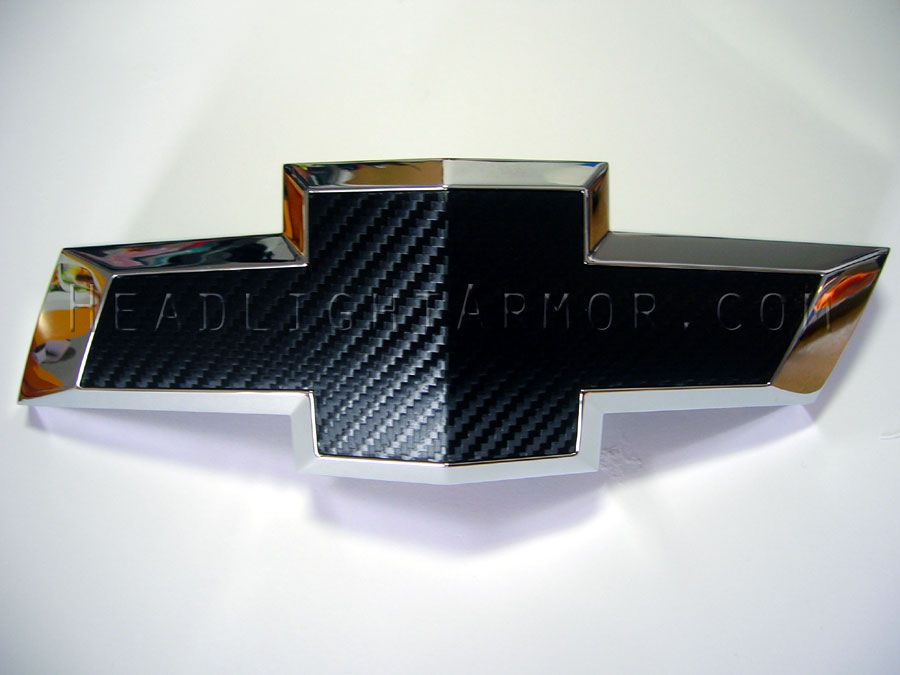
Almost done.
Now go over the edges and vertical center section at a higher heat setting, getting the surface up to 176 degrees. Go over the just cut edges with the top side of your fingernail to make sure the edge it completely sealed and rolled.
Now time for the front! We have read a lot of ‘oh the front bowtie overlays were a *****’ posts and are here to tell you, the 3D Carbon Fiber material we use makes them a lot easier than even we thought going in. The process is generally the same as the backs.
Start by gently warming the material a bit, just a little to bring it up to 80-90 degrees or so. Peel back ~ 1/3 of the backing paper – not all of it – and place on one side of the bowtie as shown. Using your thumb and pressing the material down into the center and out to the edges.
Warm the center portion of the material – this time a little warmer as we are going up and over the larger pointed compound area - 104-122 degrees - and continue peeling the backing paper back and pressing the material down. Work from the area that is set across the center and out to the sides evenly left to right and top to bottom in small increments as shown. For this part of the install we used both thumbs at the same time, in a - < motion (though the photo shows one had as the other was taking the photo)
Repeat until the end of the bowtie is reached.
It is now on. Warm again ~ 104-122 degrees and go over with either your hand or you hands wrapped in a suede microfiber towel to make sure you didn’t leave any bubbles. The adhesive has air release channels so you should be bubble free. Go around the edge with the back of your fingernail (preferably wrapped in the suede microfiber towel) and set the material into the channel between the center bowtie and the chrome surround.
Now it is time to trim. Get your sharp razor knife with a new blade and trim the excess away – using the channel where the center meats the boarder. This is the important step as you can’t uncut it if you somehow miss… We have found the cleanest way to accomplish this is to make two cuts per profile. For each section start somewhere other than a corner and make two cuts – one going in one direction across and into a corner and the other going the other direction into the opposite corner.
Almost done.
Now go over the edges and vertical center section at a higher heat setting, getting the surface up to 176 degrees. Go over the just cut edges with the top side of your fingernail to make sure the edge it completely sealed and rolled.
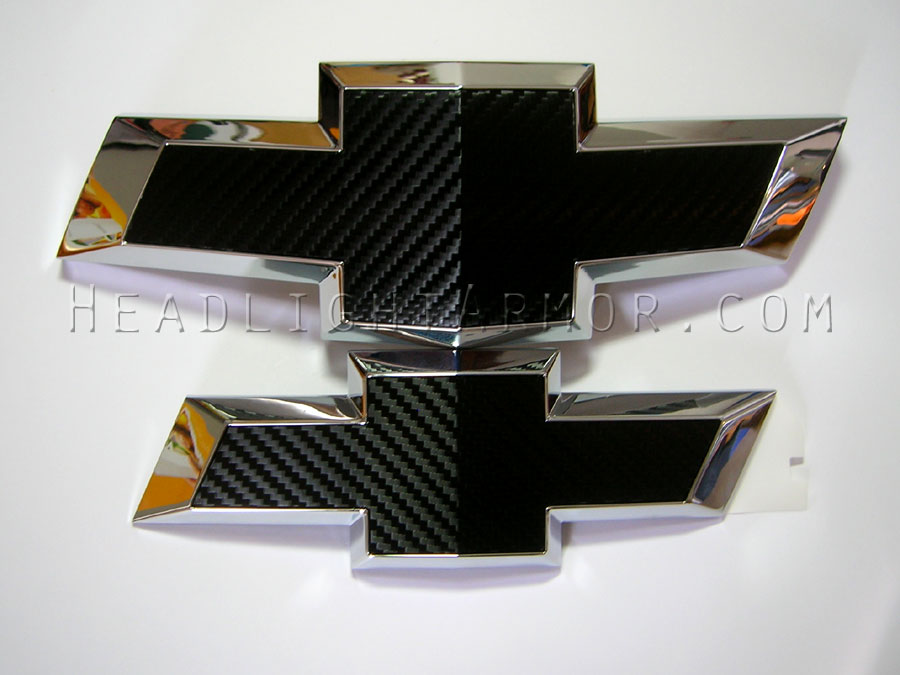
Now you are done front and back. We recommend not washing the vehicle for 48 hours though it is ok to drive in the rain if necessary.
Hope you enjoyed the tutorial! If you have questions about the application process or need any clairifications please let us know. If you have non-application questions
please see our vendor thread here