You are browsing camaro5 

|
 03-21-2016, 09:28 AM
|
#617 |
|
'It's an experiment'

Drives: [COTW 2/09/15] '11 GPI LSA SC Z/LE Join Date: May 2014
Location: Dallas TX
Posts: 8,694
|
Well, my DSS 1000HP axles have finally shipped! Hopefully they'll get here soon and I can install them over the weekend -- new hubs, axle washers, and axles for the rear!
-Don
__________________
747 RWHP 794 RWTQ
"Horsepower sells cars, torque wins races." - Enzo Ferrari See My Build: http://www.camaro5.com/forums/showthread.php?t=385577 |

|

|
|
03-22-2016, 04:32 PM
|
#618 |
|
'It's an experiment'
Drives: [COTW 2/09/15] '11 GPI LSA SC Z/LE Join Date: May 2014
Location: Dallas TX
Posts: 8,694
|
Crap, got a P0650 -- no MIL
Basically the check engine light (or Malfunction Indicator Lamp) is not lighting up. Digging into that, there are 3 Connectors to review: P16 connector: This is the connector behind the instrument panel and I'm looking at the BN/WH wire (terminal 17) X104 connector: This connector is on the firewall just next to the Brake Booster (by the engine) Terminal 15 is the BN/WH wire power for the MIL Here is its location: .jpg) X102 connector: This is the connector that is right next to the fuse box that you slide back and open. Terminal 17 is the BN/WH wire. Here is a pic of the X102 connector: Location by the fuse box: .jpg) Lock slid open: .jpg) Disconnected: .jpg) .jpg) .jpg) Got this coming to make it easier to find where or if, there is a break in the wire or, a bad PCM/ECM... http://www.aeswave.com/11-inch-Phil-...obe-p8557.html   -Don
__________________
747 RWHP 794 RWTQ
"Horsepower sells cars, torque wins races." - Enzo Ferrari See My Build: http://www.camaro5.com/forums/showthread.php?t=385577 Last edited by hammdo; 03-24-2016 at 11:30 PM. |
|
|
|
|
03-24-2016, 05:19 PM
|
#619 |
|
'It's an experiment'
Drives: [COTW 2/09/15] '11 GPI LSA SC Z/LE Join Date: May 2014
Location: Dallas TX
Posts: 8,694
|
Well, there is no voltage coming out of the PCM to the BN/WH wire that illuminates the MIL light in the dash (using a volt meter and checking the output of the BN/WH wire when ignition is first turned on and checking via the X 102 connector next to the fuse box).
So, that means -- PCM needs to be replaced. Searching has shown this happens on the 10s and 11s so, it appears to an issue, but not a 'common' one. So, having Ryan @ GPI bench prep one for me... No idea how long that takes to get one and then program it... Such is my day today... -Don
__________________
747 RWHP 794 RWTQ
"Horsepower sells cars, torque wins races." - Enzo Ferrari See My Build: http://www.camaro5.com/forums/showthread.php?t=385577 Last edited by hammdo; 03-24-2016 at 11:30 PM. |
|
|
|
|
03-25-2016, 09:59 AM
|
#620 |
|
'It's an experiment'
Drives: [COTW 2/09/15] '11 GPI LSA SC Z/LE Join Date: May 2014
Location: Dallas TX
Posts: 8,694
|
Well, chatting with Ryan from GPI, replacing and programming the ECM, no problem, the theft deterrent -- need MDI to set it, dealer setup only or, a subscription to GM and purchase MDI...
Yeah, how 'bout that... Ugh... -Don
__________________
747 RWHP 794 RWTQ
"Horsepower sells cars, torque wins races." - Enzo Ferrari See My Build: http://www.camaro5.com/forums/showthread.php?t=385577 |
|
|
|
|
03-25-2016, 09:27 PM
|
#621 |
|
'It's an experiment'
Drives: [COTW 2/09/15] '11 GPI LSA SC Z/LE Join Date: May 2014
Location: Dallas TX
Posts: 8,694
|
Well, Ryan and I worked out an arrangement so this will be setup. We tested an update to this tune so I can get my emissions set one the new ECM is installed. Tested the new setup and it worked. Should be able to get my emissions set in one day! That will be a huge help...
-Don
__________________
747 RWHP 794 RWTQ
"Horsepower sells cars, torque wins races." - Enzo Ferrari See My Build: http://www.camaro5.com/forums/showthread.php?t=385577 |
|
|
|
|
03-26-2016, 02:03 PM
|
#622 |
|
'It's an experiment'
Drives: [COTW 2/09/15] '11 GPI LSA SC Z/LE Join Date: May 2014
Location: Dallas TX
Posts: 8,694
|
Picked up my ZL1 wheels with MT drag radials from White ZL1 (Dan). Great deal!
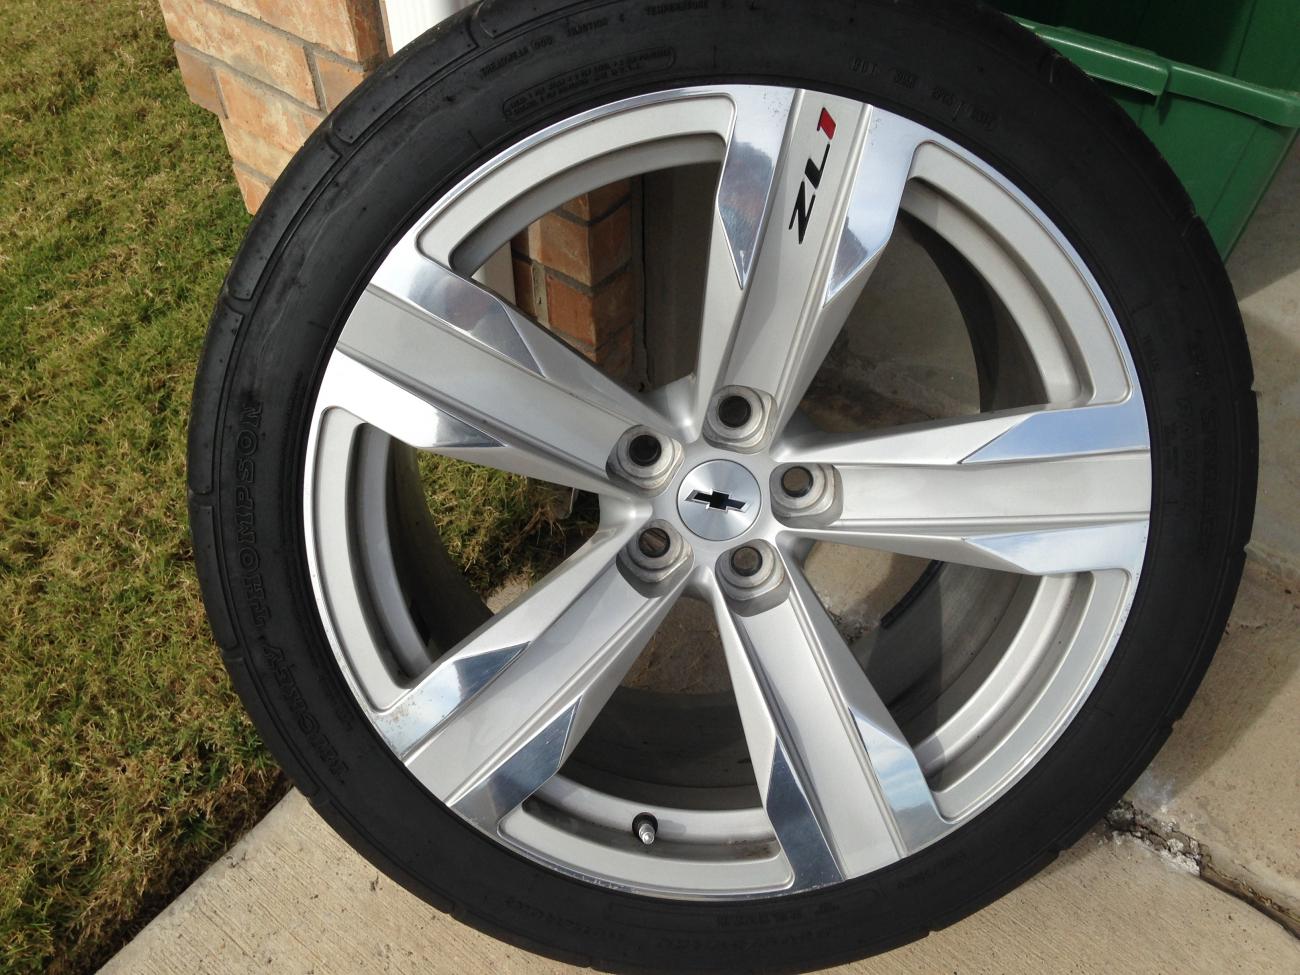 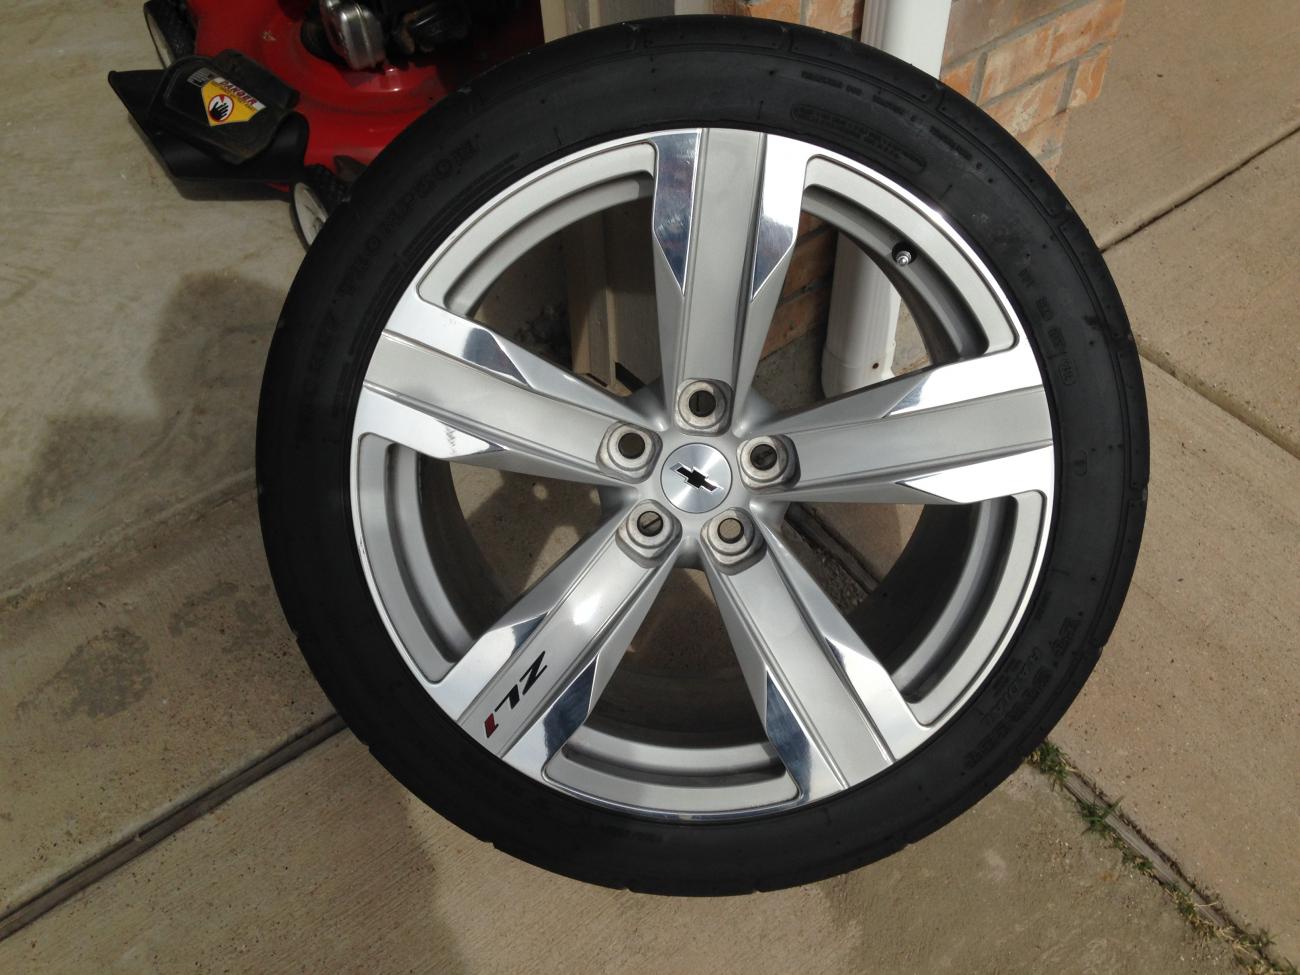 Thanks! -Don
__________________
747 RWHP 794 RWTQ
"Horsepower sells cars, torque wins races." - Enzo Ferrari See My Build: http://www.camaro5.com/forums/showthread.php?t=385577 |
|
|
|
|
03-26-2016, 02:15 PM
|
#623 |
|
'It's an experiment'
Drives: [COTW 2/09/15] '11 GPI LSA SC Z/LE Join Date: May 2014
Location: Dallas TX
Posts: 8,694
|
If I could ONLY put this on mine:

__________________
747 RWHP 794 RWTQ
"Horsepower sells cars, torque wins races." - Enzo Ferrari See My Build: http://www.camaro5.com/forums/showthread.php?t=385577 |
|
|
|
|
03-26-2016, 11:38 PM
|
#624 |
|
'It's an experiment'
Drives: [COTW 2/09/15] '11 GPI LSA SC Z/LE Join Date: May 2014
Location: Dallas TX
Posts: 8,694
|
P0650 solved
Found the cause of the P0650!
Believe it or not, the MIL light is FUSED -- #15 5 AMP fuse in the engine bay fuse box... This is the SAME location where I had the Bosch intercooler pump. This is NOT in the wiring diagram nor does it show a 'fuse' inline for the circuit. I DID verify the fuse was good (I even took the fuse out and check it with an OHM meter) and I check its voltage -- all showed good. I even pushed down ALL the fuses to make sure all were connected. What I did this time, was I REPLACED the fuse with a new/fresh fuse. I then turned on the key and -- bam! The engine light came on with the key! The ONLY thing I changed was the 5 AMP fuse itself. So, if you get this error CHECK the #15 5 AMP fuse FIRST in the engine bay fuse box! This IS the fuse that works the MIL circuit -- it could very likely have been a 'restriction' with low voltage or the fuse was the issue itself (appears to be this way)... Yeah! So Ryan, I got it working... -Don
__________________
747 RWHP 794 RWTQ
"Horsepower sells cars, torque wins races." - Enzo Ferrari See My Build: http://www.camaro5.com/forums/showthread.php?t=385577 Last edited by hammdo; 04-09-2016 at 11:00 PM. |
|
|
|
|
03-27-2016, 10:21 AM
|
#625 |
|
'It's an experiment'
Drives: [COTW 2/09/15] '11 GPI LSA SC Z/LE Join Date: May 2014
Location: Dallas TX
Posts: 8,694
|
Took it out and the emissions monitor set within 2 minutes so, evap is the only one not set -- and in Texas -- one not ready is ok!
Got that over with... BTW, many folks pull the 2 fuses to 'reset' fueling for performance (low octane to high octane) -- all you really need to do is just un-clip the X 102 connector like I show above and it will reset that fast -- but it will also reset your emissions readyness too so keep that in mind! -Don
__________________
747 RWHP 794 RWTQ
"Horsepower sells cars, torque wins races." - Enzo Ferrari See My Build: http://www.camaro5.com/forums/showthread.php?t=385577 Last edited by hammdo; 04-02-2016 at 11:35 AM. |
|
|
|
|
03-28-2016, 09:39 AM
|
#626 |
|
'It's an experiment'
Drives: [COTW 2/09/15] '11 GPI LSA SC Z/LE Join Date: May 2014
Location: Dallas TX
Posts: 8,694
|
Today, got the inspection done! No issues now that the systems are configured and set quickly!
Woot! Now, the axles are due in today or tomorrow and I'll be starting those next! -Don
__________________
747 RWHP 794 RWTQ
"Horsepower sells cars, torque wins races." - Enzo Ferrari See My Build: http://www.camaro5.com/forums/showthread.php?t=385577 |
|
|
|
|
03-28-2016, 09:44 PM
|
#627 |
|
'It's an experiment'
Drives: [COTW 2/09/15] '11 GPI LSA SC Z/LE Join Date: May 2014
Location: Dallas TX
Posts: 8,694
|
Emissions EVAP Ready Test (EVAP Readiness Test)
Well, if you're curious what the EVAP System Service Bay test is, I did it tonight with my Tech 2 and CANdi module. Note: the Gen 5 Camaro is a 'Global' system and requires MDI, but, there is a short cut that can be used.
THIS SHORT CUT is used at your own risk! Now, I waited about 8 hours after the morning run. After plugging in my Tech 2 and using an external power source, I Chose Diagnostic->2011->Passenger Car->Cadillac->D->CTS->Powertrain->(P) 6.2L V8 LSA->6 Speed Automatic->F0: Engine Control Module->F2: Special Functions->F4: Service Bay Tests->EVAP System Bay Test Once you choose this, you are presented with this Screen: .jpg) Once you press Enter, the Tech 2/CANDi will let you know the steps to run. Basically, after the Tech 2 has read the info it needs and validates you can proceed with the test, it will guide you step by step. After you've chosen the EVAP Service Bay Test, the Tech2 begins the prompts: First, you'll be told to leave the ignition key off for 10 seconds (you have to count that out): .jpg) After that, you'll turn on the key (but don't start the car). Once the Tech 2 has read the Data port, it will prompt you the EVAP test can start (or NOT) and to start the car, idle between 1800-2200 rpm (steady!) and then press [Enter] to begin. Once you press [Enter], you need to maintain 1800-2200 RPM for about 6-8 minutes (it has a counter) and it will perform a series of EVAP tests (11 data points are watched). You'll hear the Solenoid working and seeing the '%'. After about 8 minutes @ 2000 RPM, you'll be told to take it for a drive. Disconnect the 'external' power source, and drive the car (prep to drive the car first!), then press [Enter] to start the drive test. The Tech 2 shows 15 KM and 600 seconds to do the drive -- don't worry about the seconds, the KMs are what's important. Time will likely expire before the mileage step is completed. After you've reached '0's, you'll be told to return to the 'Service Bay' for engine off EVAP Test. Here you plug in the external power source for the Tech 2 'BEFORE' you turn off the car. Once that is done, turn off the car and press [Enter] to start the engine off test. This test will take about 5 to 10 minutes (and yes, you're in the car and waiting -- @ least I did). You see the Fuel Tank voltage change and here the solenoid working. Once you've waited, the Tech 2 will show you your status: .jpg) And When Complete: .jpg) Overall it takes about an hour to do the Engine On, Drive, and Engine off EVAP Service Bay Test. Pretty neat! I didn't "need' to do this, but wanted to be sure I 'could' do it if I had to. Checked the Ready Monitors with the Torque App and they all showed 'COMPLETE'! The drive cycle takes FOREVER to get done, but this one is ready in about and hour. If you have the dealer do it, expect @ least and hour to 1.5 hour charge... Anyway, just so you know, this does work! -Don
__________________
747 RWHP 794 RWTQ
"Horsepower sells cars, torque wins races." - Enzo Ferrari See My Build: http://www.camaro5.com/forums/showthread.php?t=385577 Last edited by hammdo; 10-19-2017 at 01:37 PM. |
|
|
|
|
03-29-2016, 07:13 PM
|
#628 |
|
'It's an experiment'
Drives: [COTW 2/09/15] '11 GPI LSA SC Z/LE Join Date: May 2014
Location: Dallas TX
Posts: 8,694
|
Finally, axles came in. Boxes were 'ripped' a bit, but doesn't look like anything was impacted (probably how it was 'stacked'). Opened it up to make sure -- looks fine so far!
Time to get started! .jpg) Fun coming up now! -Don
__________________
747 RWHP 794 RWTQ
"Horsepower sells cars, torque wins races." - Enzo Ferrari See My Build: http://www.camaro5.com/forums/showthread.php?t=385577 |
|
|
|
|
03-31-2016, 09:31 PM
|
#629 |
|
'It's an experiment'
Drives: [COTW 2/09/15] '11 GPI LSA SC Z/LE Join Date: May 2014
Location: Dallas TX
Posts: 8,694
|
DSS 1000 HP Axle install
OK axle day (just one as it was late in the day)...
I started with the right side. Now, I was also trying to take care of a 'clicking' noise, and it turns out it was the washer. Here is a pic of the old and new (blue): .jpg) You can see, there was a difference and that was it (now, I have L99 48k mile axles and drive shaft to sell cheap...). So, with that, here are the steps: After removing the wheel, I began removing the nut on the axle (32MM socket) : .jpg) Brake Line Hose: .jpg) Caliper: .jpg) .jpg) Speed Sensor: .jpg) Rotor: .jpg) Toe Rod and hub bolts: .jpg) Hub: .jpg) I then used a rubber hammer and was able to separate the axle from the hub (with a little WD-40). Then, took off the Upper control arm bolt. Lean the top towards you and slip the axle right out: .jpg) . .Once that was out, I place a block of wood under the axle near the diff and popped out the axle -- very easy! .jpg) Seals are new so made sure no issues: .jpg) Axles comparison (right vs dss right): .jpg) .jpg) Popped the new axle in -- note how far it goes in with the 'new' DSS axle: .jpg) .jpg) One of the things I notice is the axle CV joints are bigger so getting to the hub bolts was a little challenge -- for torque values -- but it was doable... Bolt up the toe rod bolt and the upper control arm bolt (60 ft lbs with blue loctitle). Then... install the Hub with Axle (don't forget to put the new washer one BEFORE you put the hub on!): 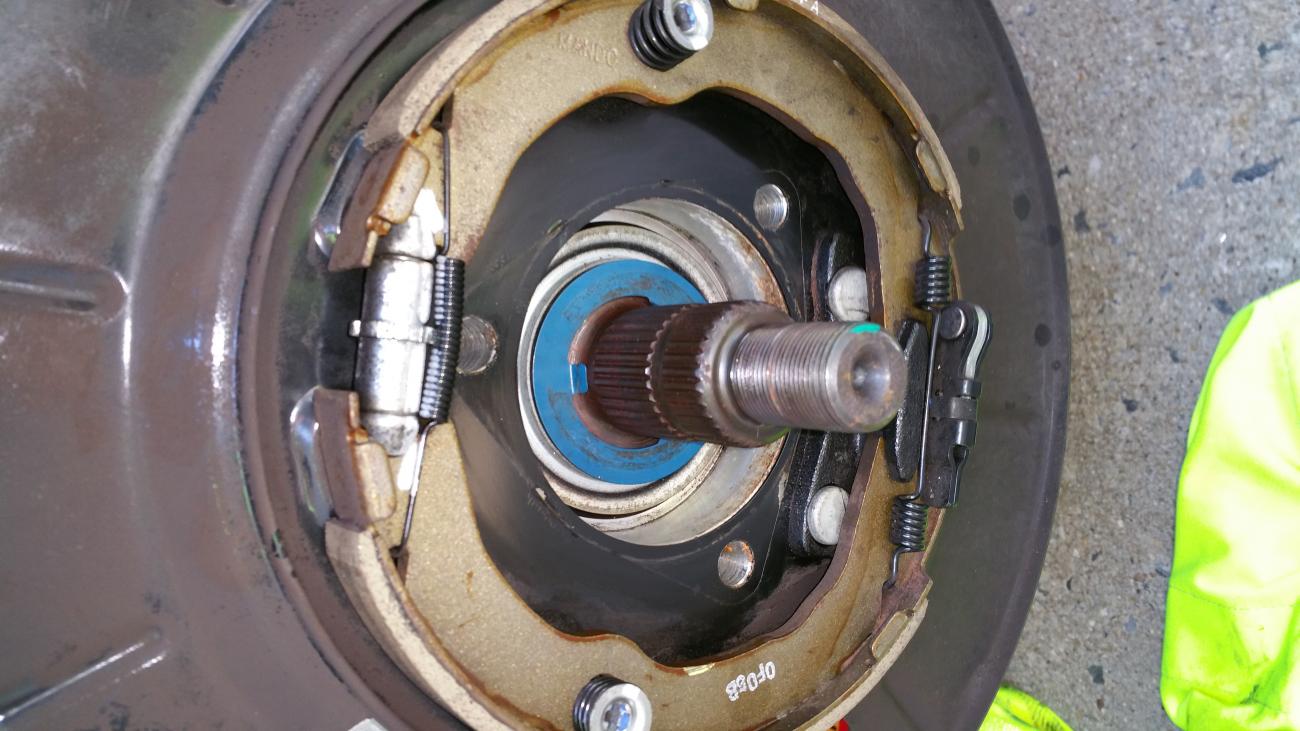 .jpg) Bolt down the new Z/28 hub using loctite and torque to 80 ft lbs... .jpg) Now, one thing that was different is the old axle nut was a 32 MM, the DSS was a 36 MM! So, I had to goto harbor freight and get a 3/4 in set of sockets and a 3/4 to 1/2 adapter: .jpg) Torqued to 199 ft lbs (with blue loctite): .jpg) Now just reassemble the speed sensor (torque 89 in lbs), brakes (rotor with new torx bolt (89 inlbs), caliper and brake line: .jpg) Re-check all torque settings and then re-install the wheel (blue tint is 110 ft lbs for the wheels)! While I was under there, doubled checked the sub-frame solid bushing bolts -- no issues there! Not a bad install at all -- now, the left side tomorrow! -Don
__________________
747 RWHP 794 RWTQ
"Horsepower sells cars, torque wins races." - Enzo Ferrari See My Build: http://www.camaro5.com/forums/showthread.php?t=385577 Last edited by hammdo; 04-02-2016 at 11:44 AM. |
|
|
|
|
04-01-2016, 05:55 PM
|
#630 |
|
'It's an experiment'
Drives: [COTW 2/09/15] '11 GPI LSA SC Z/LE Join Date: May 2014
Location: Dallas TX
Posts: 8,694
|
Finished up the left side today -- clicking is totally gone now -- looks like the washers were the reason -- no 'clicking' from the axles as it turns out.
Here are a few pics from the left side before replacement with the older style washer: .jpg) Now the new washer in place before putting on the hub with the new axle: .jpg) Left axle ready for removal: .jpg) .jpg) All done!: .jpg) Finished! Now I have new Z/28 hubs all around with new DSS 1000 hp axles and DSS CF drive shaft! Took it out and it was nice -- will do a longer drive to verify but very please how easy these were to install... Damn, not much left that is stock on this baby! -Don
__________________
747 RWHP 794 RWTQ
"Horsepower sells cars, torque wins races." - Enzo Ferrari See My Build: http://www.camaro5.com/forums/showthread.php?t=385577 Last edited by hammdo; 04-01-2016 at 07:07 PM. |
|
|
|
|
|
|
|
 |
|
|